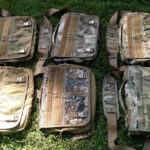
Aug 062018
 

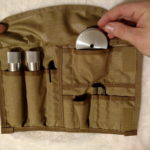
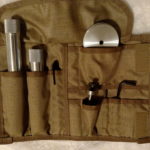
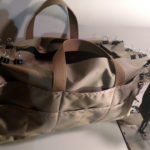
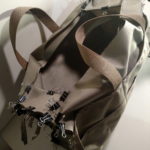
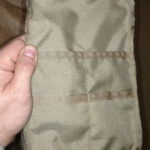
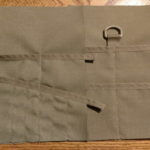
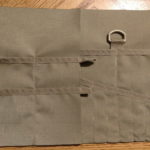
Inspired by the Tool File Condom, Mike and I were talking about storing and transporting tools. We thought it would be nice to create some kind of pouch for the tools he sells. Sounded like a fun project so I told him I’d prototype something.

Last night I went to work and built what I would like if this was something for me. As usual, it came out nice, but overly complex. The time to build it would make it a little pricey to sell.

I like to start right and take away features people don’t want to pay extra for until you end up with something that’s pretty good and still affordable. For instance, the padding is probably excessive, you’d have to be pretty rough to damage this

I took a quickie video for Mike and you can watch it below.

This is just a quick update for you guys since I have not been posting in what seems like forever.

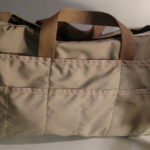
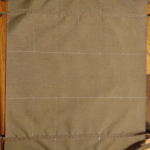
A few pictures from this project:

Aug 052018
 

Over the weekend I went to the steam show to see blacksmithing demonstrations and watch the steam-powered engines do their thing. It’s a great show, but by far my favorite part of the show is the tool vendors who set up on site selling anything from draw-knives to Bridgeport knee mills.

Among the treasures we picked up Jess got a Kelly Wood Slasher she is in love with (quite a score too, original handle, the paper label still on the head and haft). And I picked up some nice used files in some sizes I was lacking mostly first & second cut mill files. So when I got home I realized my tool-roll I use for files is woefully undersized for the new 14-Inch files I brought home.

As you may know, other files are a files worst enemy. As they rub together they file themselves (and each other) down, resulting in a dull, useless tool. These new files that didn’t fit couldn’t be just tossed haphazardly into a drawer, they needed some protection.

While laying out a new design I realized something important about the file storage I have, and all of the storage I have seen sold… they all have the same problem

You only bring 1-2 files to the job site. Most racks, trays and the few roll-ups hold your entire set. Perhaps 30 pounds of files you’re lugging to the work or you have a handful of unprotected files laying about while you work. So what I wanted was some kind of holster for single files. Something like a knife sheath but designed for a file.

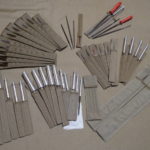
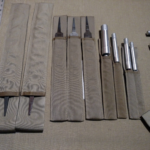
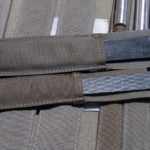
This is what I came up with. It’s not perfect and I already have improvement ideas for version 2, but for now, these will do just fine!

I present to you the File Condom:

Feb 252018
 

I never owned an open top tool bag so when I was given one I figured it would end up in the junk pile rather quickly. Especially since this one was rather dingy, covered in rust stains and had someone else’s name written on the side. But I was curious to see how it worked and see if I would like it. It turns out there is a reason tool bags (and tool boxes) have had this design for a hundred years. It’s convenient! Everything in eyes sight and accessible.

Size wise the bag was perfect for any around the house jobs and long enough for a framing hammer, tall enough for my longest pliers or screwdrivers. The only problem is, it’s… well ugly, grungy and has someone else’s name on the side. Also, my experience with cotton tool wraps is they invite rust so I really try and keep cotton that’s not been waxed\oiled away from my tools. So there was only one thing I could do, redesign it and make my own out of modern materials.
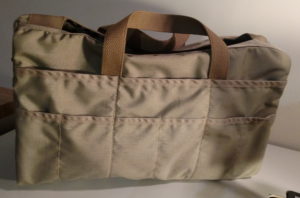
The design

I decided to do a prototype first out of 500D Cordura. I could see that the sides and bottom of the bag would be many layers thick, and since I was planning on adding more pockets both to the outside and inside of the bag this would only get worse. 500D is strong, abrasion resistant and would make a good choice.

I wanted something that would hold and organize the kinds of tools someone would be using for handyman type work. I grabbed a couple handfuls of tools and laid out the pockets in a way that everything would fit.

The only compromise I made was skipping the two “spray paint” pockets I had originally planned to add. Sure they would be great when spraypaint was needed, but kind of useless all other times. Besides the inside is a giant pocket that can hold as many cans of spray paint as I’ll ever need.

Assembly

I’ll include some pictures of the assembly below but the design is pretty straightforward. Pockets are stitched down in order. Sides are assembled. The liner is added to the main body. Reinforcements added to the top edges then the sides were stitched in place. I didn’t put enough thought into the top reinforcements and they turned out to be an epic pain in the butt to sew in place.

In the future, I will make sure the 2″ webbing does not need to be folded over right where a narrow band of 1″ webbing is going to be sewn. That seam was 3/8ths of an inch thick and it was no fun trying to keep the stitching straight.

Future improvements

I’m already planning v2 of this bag. I would like the bottom pockets and perhaps the inside to be made with 1000D Cordura. This will provide even more wear resistance from sharp tools but it will also stiffen the sides. When you have 20 pounds of tools in the pockets the bag wants to collapse under the weight. While 1000D is not going to stop that, it’ll make it a little more ridged.

I would also like to make the sides more rounded. The bottom area was 9 layers of fabric thick. When folded in to hide the seam it was 18 layers + 5038 binding tape it’s a little thick for 1″ curves.

The last thing I’m not sure about but I have thought about adding a top strap with a buckle closure. This would serve to keep everything in place on commutes and give a way to attach tools to the bag that are longer than the bag. I’m kind of iffy on if I like this idea or not.

Food for thought

This bag took about 5 hours to make from start to finish. Its well built looks nice and works as designed. When you go to Walmart, or home depot you can find “made in China” tool bags for $12! Is this bag worth the effort? Is it worth the extra price I would have to charge? I think so, but we will see if others agree.

Add-ons

Because everything has got to match, even if its just a prototype…

Check out the add-ons I made to go with this bag:

  • Wrench rollup
  • Medium & Large pliers roll-up
  • Screwdrivers roll-up

(yes, I like roll-ups!)

Final Product Pictures


Assembly Pictures
Sep 242017
 

Over the last few weeks stress has been high and I’ve gone looking for some of my old outlets for all that excess mental energy. Woodworking is probably my favorite, but sadly right now there is simply no space for that. Next would be sewing.


Brown bags project is now “mostly” complete!

(may add Pencott Badlands and some more Realtree options)
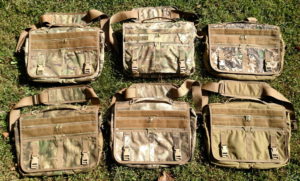
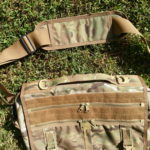
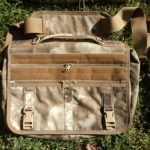
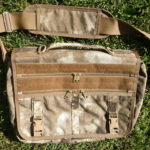
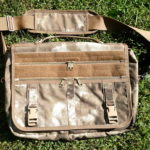
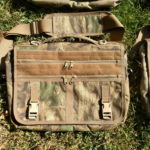
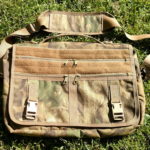
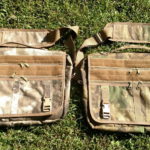
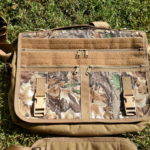
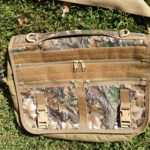
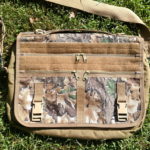
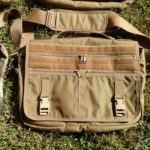
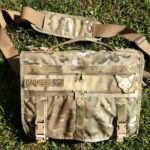
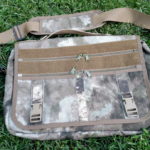
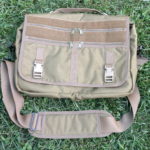
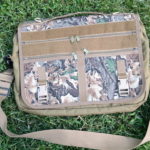
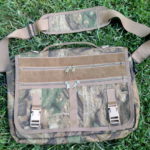
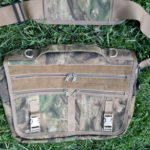
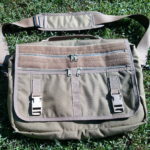
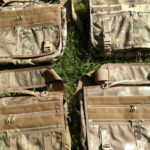
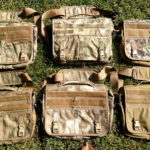
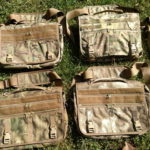
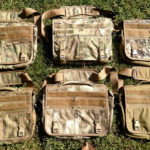
The bags are my standard Adaptable Messenger Bag design. In this case with the “office” internal design. And a removable carry lid (lid adds a grab-n-go handle, something the original design is missing).
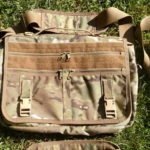
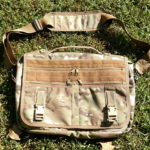
The bag itself is pretty large, designed to carry my 17″ laptop. The front zippered pocket holds a file folder, pens, paper, flashlight, multi-tool, razor knife, spare mag and misc hygiene kit. The main pocket has a laptop \ file folder pocket. And two large divider pockets on the rear (holds a portable drive, battery backup, and a pair of gloves). The opposite side has three large pleated pockets with drawstring closures (holds glasses, body-spray, 2 pairs of flex-cuffs, first aid / boo-boo-kit, misc chargers, tools, and thumb drives). The lid has three zippered pockets and mainly holds small items (spare batteries, etc).

These bags are built like tanks! They are overbuilt in everyway possible. Yet, they are quite clean design-wise.

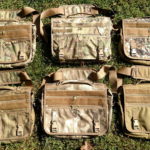
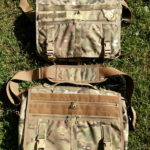
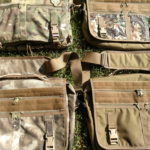
Color \ Pattern options in this build.

The brown part of this project includes 6 coyote brown, 2 Multicam (one with coyote accents, one with Multicam accents), 1 in Realtree Advantage Timber, 1 in Realtree Advantage Classic, 1 in Atacs (classic). The green part of the project is still on hold.

The Multicam bags are amazing looking, but honestly a little useless in the forest around here. Since they are intended to carry work home and back that shouldn’t be to much of a problem.

Why so many bags?

Originally the project started as a set of car kits. A grab and go bag I could keep in the car\Tahoe containing seasonally appropriate supplies. I like having a change of clothing, emergency supplies, gloves, etc. Coyote bag for fall\winter, camo green for spring/summer. 3 cars x 2 seasons, then I decided to expand the project to include a few EDC bags, then it continued to grow and suddenly it got out of control.

Out of control or not, I’m really happy with how it is coming along. A new pattern for every day of the week, hah.

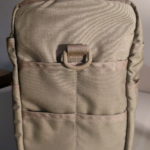
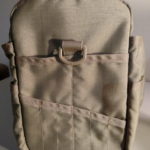
Well onto the pictures, here ya go!