Sep 172016
 

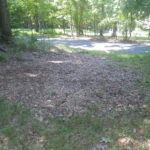
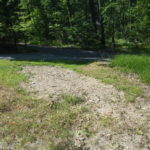
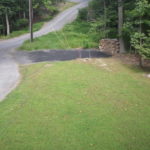
One problem in this old house is we have had a lack of parking, particularly in the winter months.

Plus, year round I have a Tahoe that gets parked on the lawn killing the grass (well weeds really). When the grass dies it turns into mud, when it rains the mud washes away and the cycle begins again. This is one of the many fun things you learn about when you live on the side of a mountain. Or as the locals say “in them there hills.”

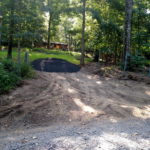
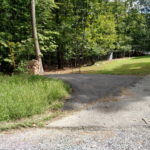
What’s more, my secondary access driveway has started overgrowing with weeds again. And the 5 truckloads of shredded tree we used to keep it driveable has broken down enough that heavy rains are now washing it away yard by yard. Clearly, something needs to be done.

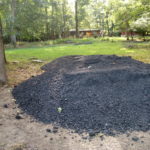
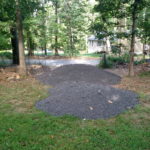
So one morning while leaving for work and thinking about the fact that they are grinding up the local Rt. 340 I gots me an idear. A few phone calls later I had scheduled 20 tons of asphalt millings on the way. 20 tons seems like enough to cover a little driveway and cover a landing for parking. Heck, if anything I may have too much. Well if you’re not on the side of a mountain that’s probably correct! But I wanted to level the landing and suddenly it needs to be 20 inches deep on one side. And that access driveway could be wider, so we leveled a slightly larger area and before you know it 40 tons is not nearly enough. As a matter of fact, as I type this another shipment is trucking its way to me!

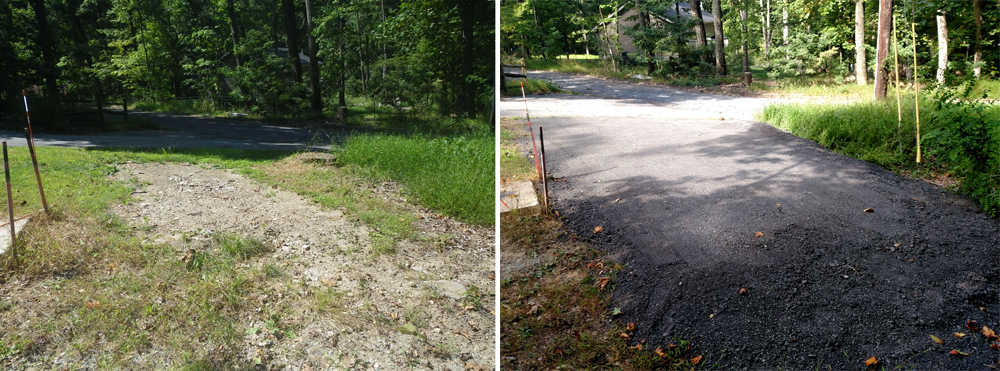
Incomplete Asphalt Millings Parking Area: Before and After
Asphalt Millings Parking Area

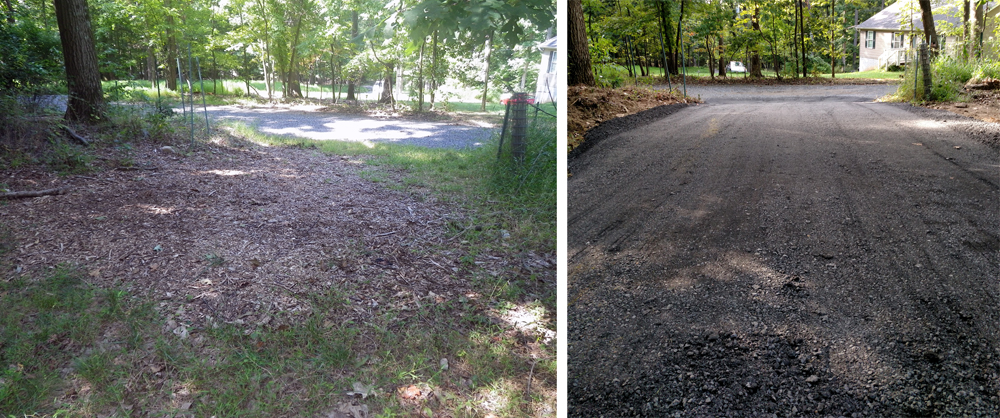
Incomplete Asphalt Millings Driveway: Before and After
Asphalt Millings Drive Way

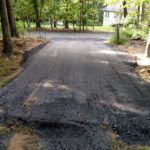
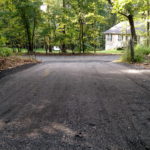
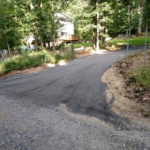
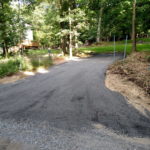
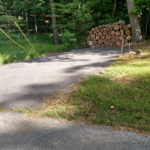
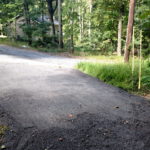
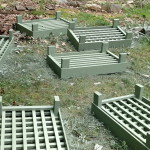
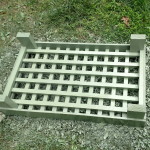
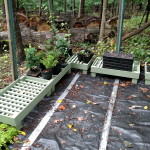
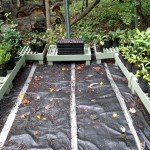
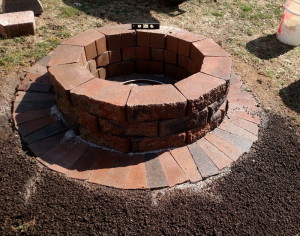
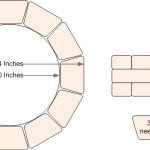
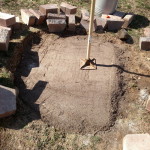
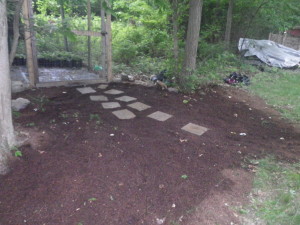
More Pictures from the Job:

Jul 062016
 
Racks Stacked and Waiting for Paint.

While driving home a week ago I saw that my buddies work was throwing out a bunch of wood scraps. Mostly bits of plywood that are too small for them to use, but still big enough for a project so I loaded up the old Tahoe with what I could.

I always have woodworking projects waiting for me at home, so I figured it would be used up quickly. Turns out I was right.

We always have a lot of plants on the porch, hostas, peppers, etc. The problem is the pots ruin the deck and stain the wood. Plus its best to have the pots raised for better air flow and drainage so I have often built racks to keep the plants off the deck.

We have some racks I made a few years ago but they are looking ratty and are in need of replacement. Also, in the hosta prison the ground is not completely level and the pots occasionally fall with the help of squirrels looking for places to hide food.

PlantShelf

Seems like a good project for all this free wood. I drew out a plan to make the best use of the wood I had on hand and got to cutting. In the unlikely event that anyone wants to make a few the plans (drawings) are included below.

Jess helped me staple them all together and it took two weekends to get them painted (2 days of drying between coats).

I was going for a “moss” colored paint, but I’m pretty new to tinting paint so it came out a bit lighter then I had hoped.

We ended up making seven racks, and perhaps if I see more scrap wood I’ll make another seven.

I think they came out pretty good, don’t you?

-Brian

Mar 272016
 

Level Three of the Paverstone Fire Pit

Paverstone Fire Pit

Almost every year we have a guy come to our house and pressure wash the decks and handle whatever laborious tasks are on the to-do list that day. Among the endless list of to-do-work was to build a fire pit out of paverstone retaining wall stones.

That morning I called in an order to Home Depot, gave a drawing and some instructions to our friend, and headed off to work. When I arrived home a nifty, kind of falling over fire pit greeted me in the yard. The leveling was subpar and therefore the pit was a bit shaky. So Saturday morning I disassembled it and reconstructed it to be a bit more to my original plan, I also shrunk it by a couple of inches because 42-Inches is HUGE and I just want to burn yard waste and make smores.

After finishing up I opted to put a ring around the pit so that the dead zone (area of the grass killed by the heat) would not look so ugly. So another trip to Home Depot. They did not have anything that would cleanly make a ring around the pit but I hacked together a ring out of the wall capstones, its “ehh..” but can be replaced later.

I think it came out pretty nice, sure my Dad who is a stone mason will chuckle at this, but he is welcome to come down and show me how to do it right anytime…hint, hint!

Jun 022013
 
Garden walk way

Beginnings of a garden walk way started on June 2nd 2013

We try and do a little something around the house every week to keep up with the yards insistence on turning back into a forest.

Yesterday that project was to move 12 wheelbarrows of compost over to the “hosta prison’s” entrance and make a nice little garden area.

I plan to plant some creeping jenny in that area (an invasive ground cover) to fill in around–a yet to be built–stone walkway. We always try and make use of natural components in our yard projects. Not only does it save $$ but it also makes it fit the environment better and ties everything together.

I have a tray of plugs (creeping jenny cuttings) we made last year that will start this garden off. I’ll try and snap a picture or two of one of the existing gardens that are currently being overrun with this stuff. I sometimes wonder if it wouldn’t be easier to just let it take over the lawn (no more cutting the grass for us).

Today (Sunday) was far too muggy to work, so instead, we went to home depot and picked up some cement stepping stones to fill in until I find the perfect flat rocks in the woods.