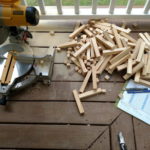
Over the last few weeks stress has been high and I’ve gone looking for some of my old outlets for all that excess mental energy. Woodworking is probably my favorite, but sadly right now there is simply no space for that. Next would be sewing.
Brown bags project is now “mostly” complete!
(may add Pencott Badlands and some more Realtree options)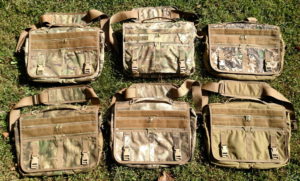
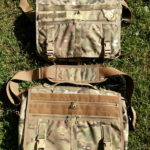
The bags are my standard Adaptable Messenger Bag design. In this case with the “office” internal design. And a removable carry lid (
lid adds a grab-n-go handle, something the original design is missing).
The bag itself is pretty large, designed to carry my 17″ laptop. The front zippered pocket holds a file folder, pens, paper, flashlight, multi-tool, razor knife, spare mag and misc hygiene kit. The main pocket has a laptop \ file folder pocket. And two large divider pockets on the rear (holds a portable drive, battery backup, and a pair of gloves). The opposite side has three large pleated pockets with drawstring closures (holds glasses, body-spray, 2 pairs of flex-cuffs, first aid / boo-boo-kit, misc chargers, tools, and thumb drives). The lid has three zippered pockets and mainly holds small items (spare batteries, etc).
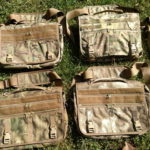
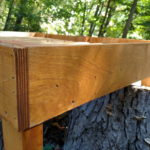
These bags are built like tanks! They are overbuilt in everyway possible. Yet, they are quite clean design-wise.
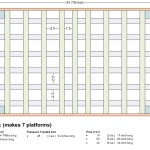
Color \ Pattern options in this build.
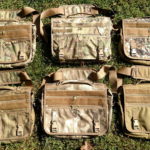
The brown part of this project includes 6 coyote brown, 2 Multicam (one with coyote accents, one with Multicam accents), 1 in Realtree Advantage Timber, 1 in Realtree Advantage Classic, 1 in Atacs (classic). The green part of the project is still on hold.
The Multicam bags are amazing looking, but honestly a little useless in the forest around here. Since they are intended to carry work home and back that shouldn’t be to much of a problem.
Why so many bags?
Originally the project started as a set of car kits. A grab and go bag I could keep in the car\Tahoe containing seasonally appropriate supplies. I like having a change of clothing, emergency supplies, gloves, etc. Coyote bag for fall\winter, camo green for spring/summer. 3 cars x 2 seasons, then I decided to expand the project to include a few EDC bags, then it continued to grow and suddenly it got out of control.
Out of control or not, I’m really happy with how it is coming along. A new pattern for every day of the week, hah.
Well onto the pictures, here ya go!
-

-
Multicam with Coyote Brown Accents
-
-
Multicam with Coyote Brown Accents
-

-
Multicam with Coyote Brown Accents
-
-
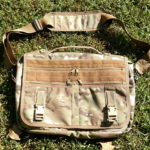
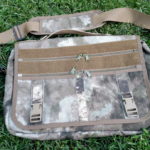
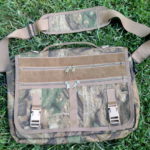
Atacs with Coyote Brown Accents
-

-
Atacs with Coyote Brown Accents
-
-
Atacs with Coyote Brown Accents
-
-
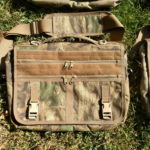
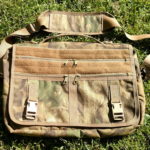
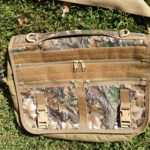
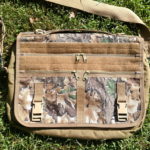
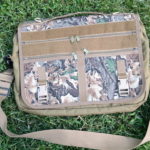
Realtree Advantage Timber Camo
-
-
Realtree Advantage Timber Camo
-
-
Atacs vs Realtree Timber
-
-
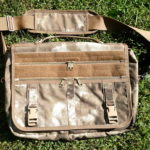
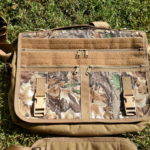
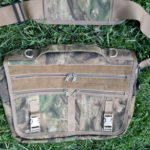
Realtree Advantage Classic Camo
-
-
Realtree Advantage Classic Camo
-
-
Realtree Advantage Classic Camo
-
-
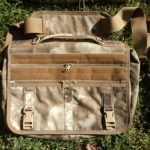
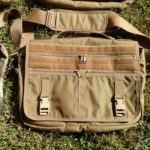
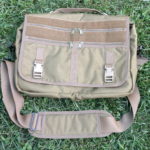
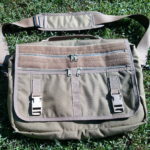
Coyote Tan with Coyote Brown Accents
-

-
with Multicam Accents
-
-
Shade – Atacs with Coyote Brown Accents
-
-
Shade – Coyote Tan with Coyote Brown Accents
-
-
Shade – Realtree Advantage Classic Camo
-
-
Shade – Realtree Advantage Timber Camo
-
-
Shade – Realtree Advantage Timber Camo
-
-
-
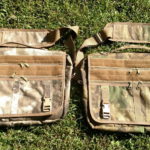
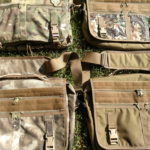
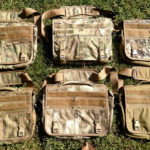
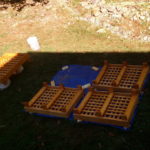
Browns Set – Side By Side
-
-
Multicam vs Multicam
-
-
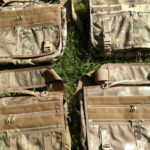
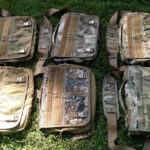
Browns Set Close Up
-
-
Browns Set Close Up
-

-
Browns Set – Side By Side
-
-
Browns Set – Side By Side
-
-
Browns Set – Side By Side
-
-
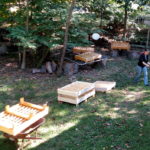
Shade – Browns Set


![Fe! in the yard (2011) - [3 of 6]](http://brianpaonessa.com/blog/wp-content/uploads/2013/05/3-150x150.jpg)