Lately, I’ve been working on my spare time refurbishing some old garden tools I got from a friend. The majority of them are nothing special, but they are mostly American steel with years of character and they deserve to be used as intended. It’s always sad to watch old tools rust away.
FREE RUST (MAY CONTAIN SOME OLD TOOLS)
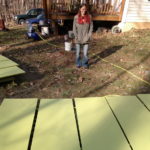
A friend of mine and ex-boss moved out of his old house of 20 years. He decided it was time to downsize and get rid of some of the collections of stuff that not only he no longer uses, but that he was tired of stepping over, moving and trying to find a cubbyhole for. Among the collections–which there where many–was some old gardening tools from when he had a brief interest in gardening 20 years back. He mentioned that many of the tools were from his mothers’ house and were used by his father or mothers father before being gifted to him.
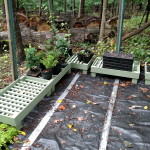
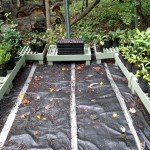
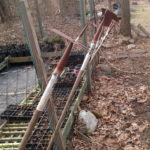
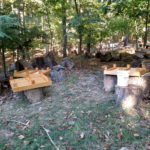
The tools were stored in an open, dirt-floored barn that was filled with leaves, wet soil and in some areas exposed to afternoon sun. The tools were all in poor condition. Handles, resting on the soil, buried in years of decaying leaves left to rot away.
THE FIND OF THE DAY
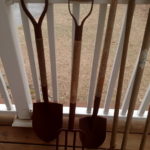
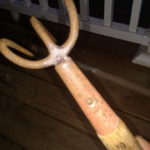
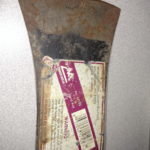
After digging out some of the many layers of tools in one corner deep below the leaves I strut metal. Under the pile was an axe head (Merit Jersey pattern pre 1927) and an old grub hoe (unknown age or maker). Both of their handles had long since been lost or rotted away. They were the prized finds of this archaeological dig.
PROGRESS SO FAR
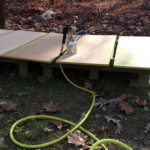
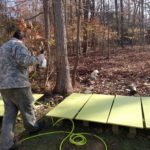
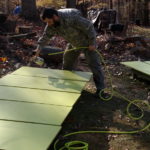
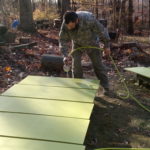
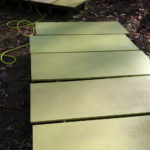
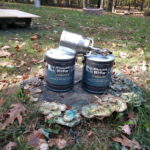
It’s been cold lately so working on there has been slow. A little work here and there. I tried removing rust with vinegar but it turns out it doesn’t work well when it freezes solid. Navel jelly also is pretty ineffective at temps below 40f. A good old wire brush and sandpaper seem to work just fine in these conditions so I worked my magic the old way.
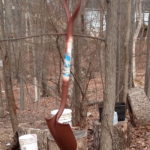
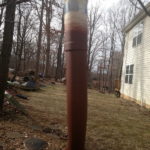
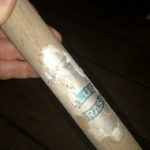
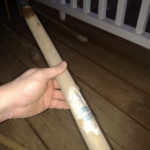
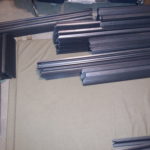
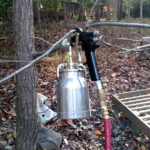
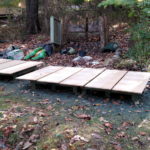
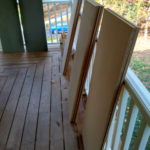
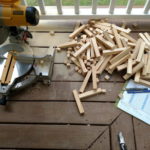
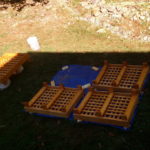
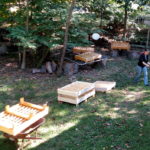
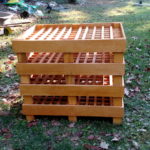
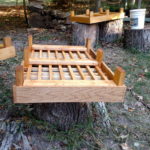
I’ve so far removed the rust from most of the items found and have painted all of the rusty metal with a coat of primer. I’m now working on sanding and rejuvenating the handles that are salvageable, replacing the rest. I was not able to find a grub hoe handle locally so I’ll be reshaping a railroad pick handle to fit. If it ever warms up again I’ll be painting the primed surfaces and even though the paint will wear off rather quickly on cutting surfaces it will serve to keep them in fine condition through the winter months.
WHAT WAS IN THE HAUL
I haven’t identified makers for most of the tools. It’s actually unlikely I’ll ever know on most of them. Paint, stickers even makers marks have long since been lost to the elements. Some items have clues I just need to track down.
Among the oddities was a JC Penny spade one that I cannot find any record of ever existing. I’d love to find out who was contracted to make them, but that may not happen for a while.
WHAT WE FOUND:
- Collins – Commander [3 lb.] (more or less Michigan Pattern) Axe, probably late 1980s – Pending Hang
- Merit [4-1/2 lb.] (Jersey pattern) Felling Axe, pre 1927 – Re-hung, finished
- Majestic Tool [1.2 lb.] (Dayton pattern) Hand Axe, probably 1980s? – Pending Refurb
- Cutter Mattock
- Pick Mattock
- Belknap Bluegrass – Garden Spade (Transfer Shovel) – Painted, Complete
- Drain Spade
- Unknown – Round Point Spade (Digging Shovel) – Painted, Complete
- Unknown 3-Tine Garden Cultivator – Finished
- Blue Grass 3-Tine Garden Cultivator (blue) – Finished
- Unknown – 5-Inch Garden Hoe (#1) – Painted, Complete
- Unknown – 5-Inch Garden Hoe (#2) – Painted, Complete
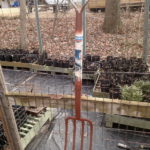
- Unknown – 4-Tine Spading Fork – Painted, Complete
- Unknown – 2-Prong Weeding Hoe – Painted, Complete
- Grub Hoe
- Hula Hoe
- Railroad Pick (some markings)
- Post Hole Digger – on hold, needs a lot of work


Notes:
Digging Shovel (long handle)
Markings: USA / Tempered / O
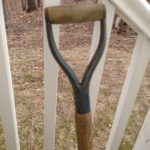
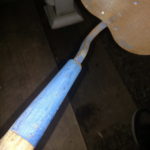
Garden Spade (D-Handle) – Blue Paint
Markings:
On the socket (neck) it is marked: Heat Treated / USA / 2
On the sides of handle it is marked: U-D” / 2075277
Brand: Probably Belknap Bluegrass (based on research)
Utility Shovel & Drain Spade (Plastic D-handles)
Brand: Ames
Markings: Made In China 🙁
Spade (D-Handle)
Markings: 2 / Heat / Treated / Made / In / USA
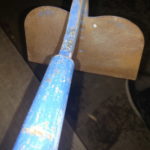
3-Tine Garden Cultivator – Blue Paint
Markings: USA / A32
Brand: Blue Grass
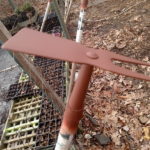
Pick Mattock – Red Paint
Markings: 5 / Forged / [Japan?]
Cutter Mattock
Markings: EASTCO B-H / Drop Forged / Heat Treated
Pick Axe – Black Paint
Brand: Ludell
Markings: 6
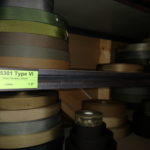
Railroad Pick
Markings: N&W / 7 / [makers mark]
Makers Mark: H in center of route crest
Brand: [[Maybe: Charles E. Hall Company / Probably: Hubbard and Company]]
Notes: Could N&W stand for Norfolk & Western Railroad?
Logo as it appears on the tool.
Reference from: http://alloy-artifacts.org/trademarks-and-logos.html
![]()


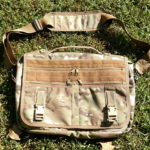
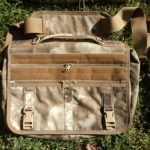
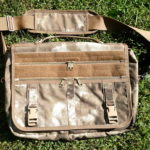
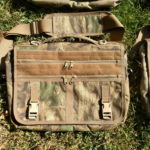
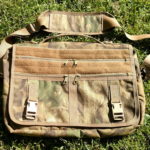
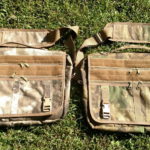
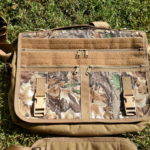
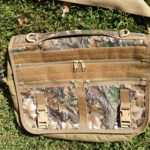
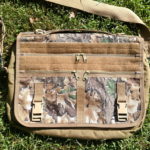
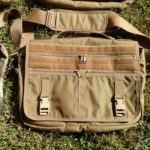
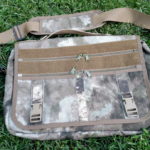
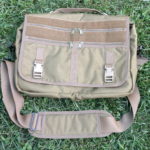
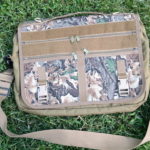
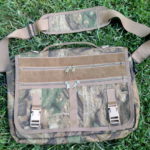
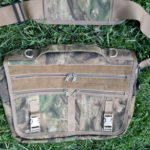
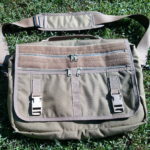
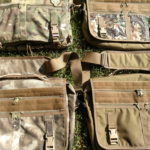
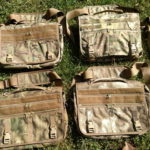
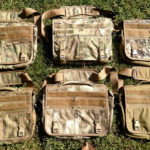
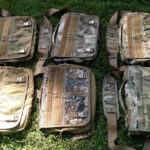
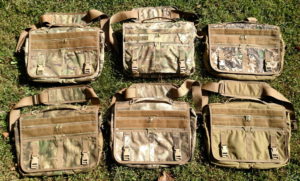 The bags are my standard Adaptable Messenger Bag design. In this case with the “office” internal design. And a removable carry lid (lid adds a grab-n-go handle, something the original design is missing).