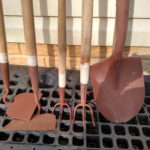
WOW, got to say thanks to Jess and the Ralphs! You all outdid yourselves!
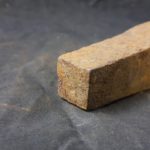
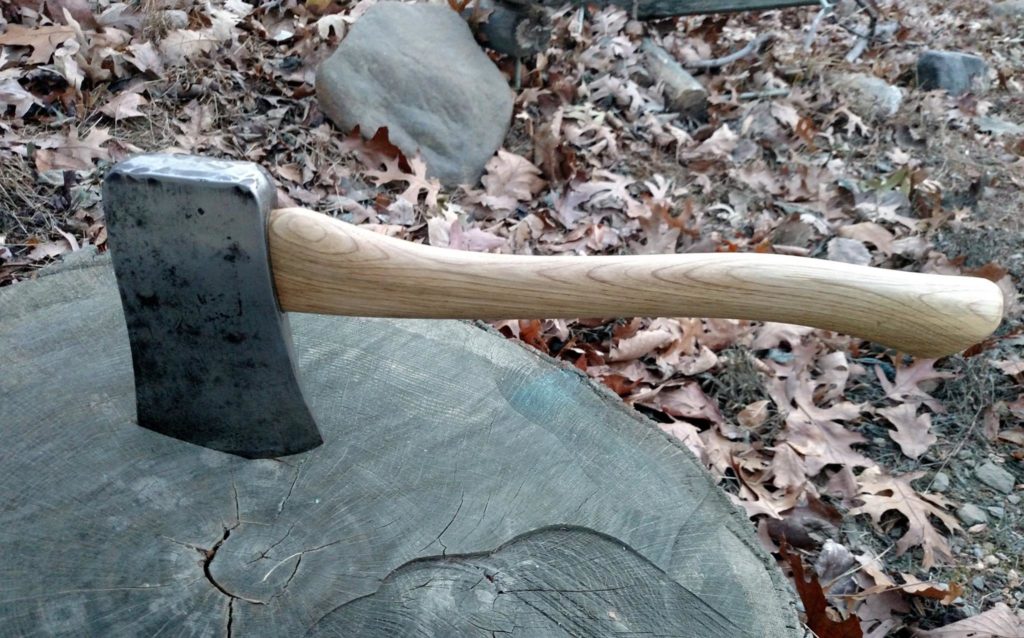
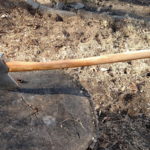
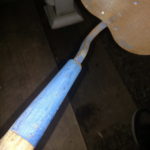
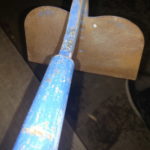
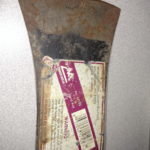
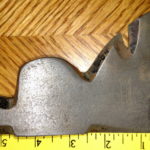
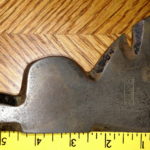
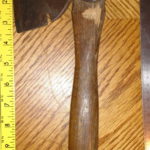
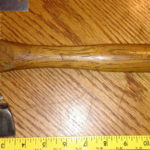
Lately, my obsession has been cleaning up old tools. Particularly old rusty axes, hatchets, and hammers. Jess and I have been keeping our eyes on eBay watching for cheap auctions to snatch up and put back into service. I’m sure I have said it here before, but I’m always excited to daydream about what an old tool may have been through over the years.
An old mushroomed hammer or chips in a bit are all markers of work that was done long in the past. Every few weekends I’ll fix up another and Jess and I will go out and chop up a fallen tree or stump to check them out. It’s been fun and I’m getting a small collection. I now have a few items that are around 100 years old, keeping them in service seems important to me.
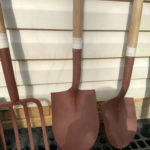
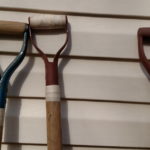
Well, my birthday was on the way and Jess and her parents conspired to overload me with fun work. …And they succeeded in spades.
Considering that I’ve had some eBay luck recently too my backlog of projects is impressive.
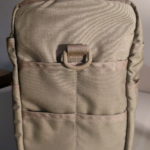
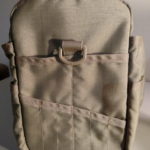
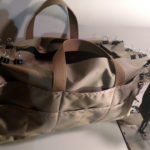
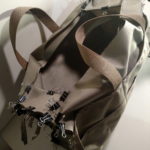
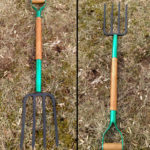
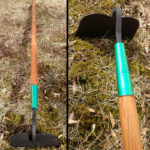
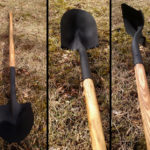
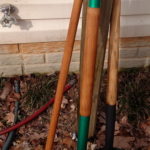
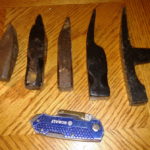
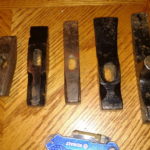
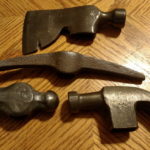
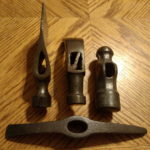
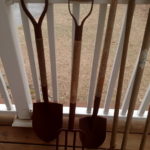
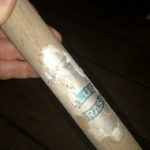
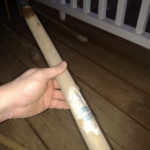
Below are some pictures of the take to help me track what’s still left to finish. As always I’ll post links to the finished tools as they are completed. With this many, it’s going to be a while!
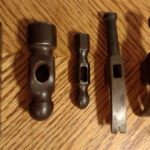
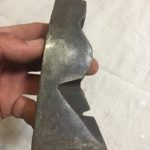
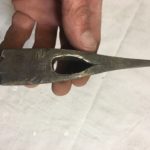
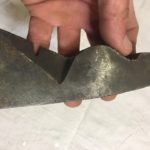
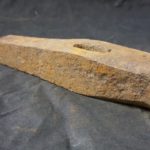
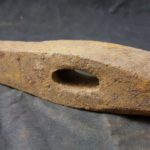
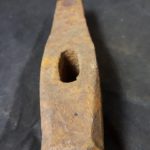
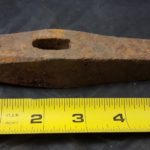
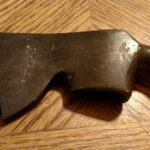
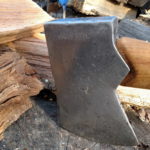
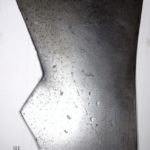
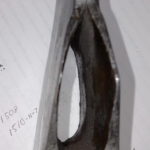
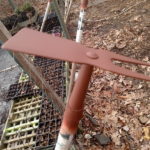
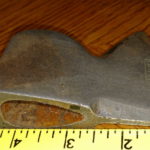
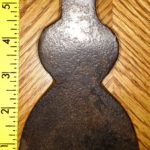
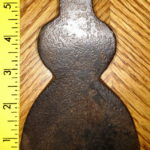
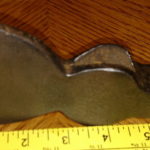
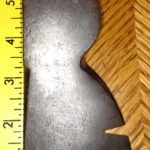
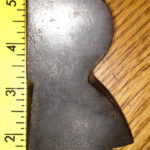
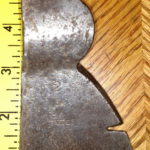
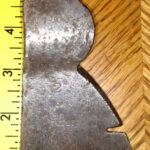
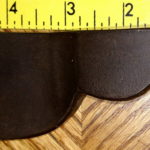
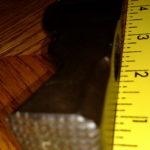
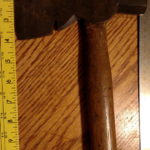
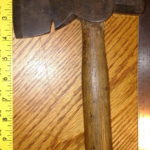
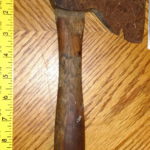
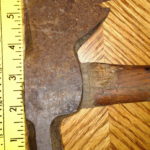
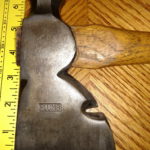
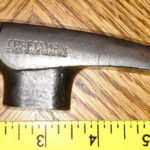
Hatchets
| Style (best guess) | Length | Width | Who | Lb./Oz. | Grams | Notes |
| Plumb Half Hatchet | 5-7/8″ | 1-1/4″ | Bill | 1# 6.1 oz. | 630 g. | Crack in Poll |
| Unmarked Shingling w/Nail Pull Hatchet | 5-3/4″ | 1″ | Bill | 1# 6 oz. | 627 g. | |
| Americanax Half Hatchet | 6-1/2″ | 1-1/8″ | Bill | 1# 3.4 oz. | 543 g. | 1920s, Glassport, PA |
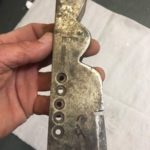
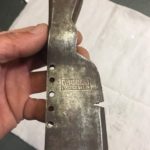
| C. HAMMOND Half Hatchet
(found a picture of another, stamp matches) |
5-7/8″ | 1″ | ?? | 15.9 oz. | 454 g. | 2 CHAMMOND PHILA CAST STEEL |
| Germantown Lath Hatchet | 6″ | 1-1/4″ | Bill | 14 oz. | 397 g. | Cut and Modified |
| Kelly Works Half Hatchet | 6-3/8″ | 1-1/8″ | Jess | ? oz. | ? g. | Weldmark |
| Unmarked Shingling Hatchet | 6-5/8″ | 1-1/8″ | Jess | ? oz. | ? g. | |
| Unmarked Half Hatchet | 6-3/8″ | 1-1/8″ | Jess | ? oz. | ? g. | |
| Plumb Riggers/Half Hatchet | 6-1/2″ | 1-3/8″ | Jess | ? oz. | ? g. | *fav* |
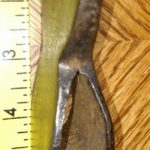
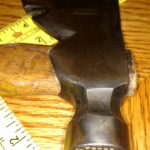
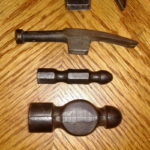
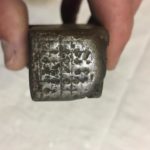
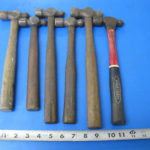
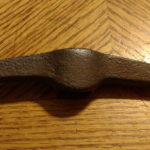
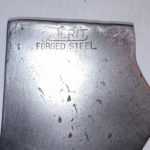
Hammers
| Style (best guess) | Length | Width | Lb./Oz. | Grams | Notes |
| Craftsman 1 lb. Masonary Hammer | 7″ | 7/8″ | 1# 0.6oz. | 473 g. | |
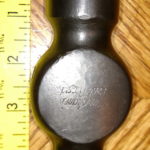
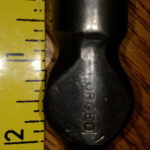
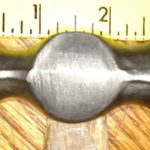
| Bimgham’s Best Brand 30 oz. Ball Pein | 4-7/8″ | 1-1/2″ | 1# 13.5 oz. | 836 g. | Likely 1920s |
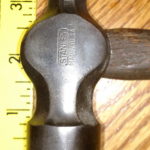
| Craftsman 24 oz. Ball Pein | 4-1/2″ | 1-1/2″ | 1# 8.3 oz. | 691 g. | Early 1930s |
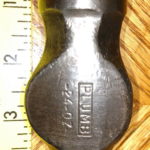
| Plumb 24 oz. Ball Pein – Finished | 4-5/8″ | 1-1/2″ | 1# 7.6 oz. | 670 g. | |
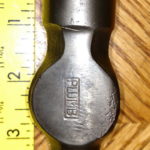
| Plumb 15 oz. Ball Pein | 4″ | 1-1/4″ | 15.4 oz. | 438 g. | |
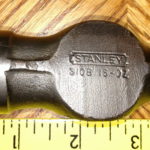
| Stanley 16 oz. (310B) Ball Pein | 4-1/8″ | 1-1/4″ | 15.8 oz. | 448 g. | JobMaster |
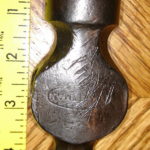
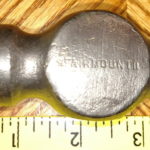
| Fairmont 16 oz. Ball Pein | 4″ | 1-1/8″ | 15.9 oz. | 451 g. | |
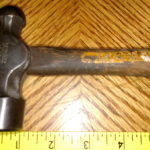
| Ball Pein Blank 12 oz. (no eye) | 3-3/8″ | 1-1/8″ | 11.9 oz. | 337 g. | |
| Unmarked 8 oz. Ball Pein | 3-3/8″ | 1″ | 8.7 oz. | 248 g. | |
| “Forged” 5 oz. Ball Pein | 2-3/4″ | 7/8″ | 5.3 oz. | 152 g. | |
| Stanley Ball Pein | 3-3/4″ | 1-1/4″ | ? oz. | ? g. | |
| Unmarked Ball Pein | 3-1/4″ | 1″ | ? oz. | ? g. |
Also See:
- Small Rusty Hammers (part two?)
My most recent wins and buys. Lots of hammers plus a few hatchets. - Interesting Old Hammers To Restore
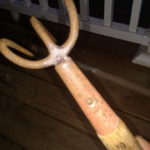
Some really cool hammers and hatchets including a miners pick that so far no one can explain what it is. Perhaps a salesman’s sample!